Play the timeline
Last updated
By the end of this guide, you will be able to control the Re:Earth Visualizer
timeline from your Plugin—setting its time range, playing and pausing
playback, adjusting speed, and reacting as time advances. This guide assumes
you are familiar with the basic Plugin structure of reearth.yml and an
extension file.
The timeline drives time-based data and animation in a scene. Through
reearth.timeline, your Plugin can set the timeline’s range, play and pause
it, change its speed, and listen as it progresses.
Sample code
Section titled “Sample code”This example shows a small panel with a clock and Play and Pause buttons. Clicking Play advances the timeline through the year 2023, and the clock updates to show the current time as it moves.
reearth.yml
id: timeline-pluginname: Timeline Pluginversion: 1.0.0extensions: - id: timeline-demo type: widget name: Timeline Demotimeline-demo.js
reearth.ui.show(`  <style>    html, body { margin: 0; font-family: sans-serif; }    #panel { padding: 16px; color: #000; background: #fff; width: 260px; }    #time { font-family: monospace; }    button { margin-right: 8px; padding: 4px 12px; }  </style>  <div id="panel">    <p>Current time: <span id="time">-</span></p>    <button id="play">Play</button>    <button id="pause">Pause</button>  </div>  <script>    document.getElementById("play").addEventListener("click", function () {      parent.postMessage({ action: "play" }, "*");    });    document.getElementById("pause").addEventListener("click", function () {      parent.postMessage({ action: "pause" }, "*");    });
    window.addEventListener("message", function (e) {      if (e.data?.action === "tick") {        document.getElementById("time").textContent = e.data.time;      }    });  </script>`);
reearth.timeline?.setTime?.({  start: new Date("2023-01-01T00:00:00Z"),  stop: new Date("2023-12-31T23:59:59Z"),  current: new Date("2023-01-01T00:00:00Z"),});
reearth.timeline?.setSpeed?.(3600 * 2);
reearth.extension.on("message", (message) => {  if (message?.action === "play") {    reearth.timeline?.play?.();  }  if (message?.action === "pause") {    reearth.timeline?.pause?.();  }});
reearth.timeline?.on?.("tick", (currentTime) => {  reearth.ui.postMessage({ action: "tick", time: currentTime.toISOString() });});
Result
Section titled “Result”A panel appears with a clock and Play and Pause buttons. Nothing moves until you click Play; then the clock advances through 2023. Clicking Pause stops it where it is.
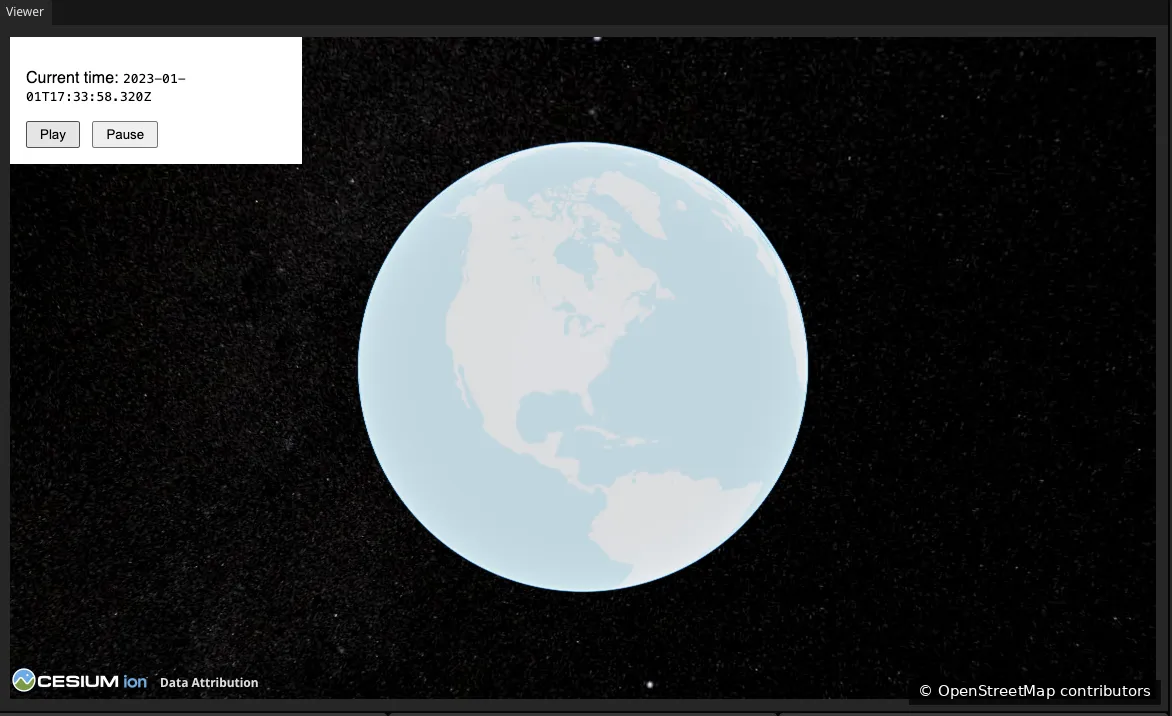
Map data from OpenStreetMap.
How it works
Section titled “How it works”The reearth.timeline namespace provides methods to set the timeline’s range,
control playback, and react as time advances.
Set the time range
setTime defines the timeline’s bounds and starting position. It takes an
object with three Date values:
reearth.timeline?.setTime?.({ start: new Date("2023-01-01T00:00:00Z"), stop: new Date("2023-12-31T23:59:59Z"), current: new Date("2023-01-01T00:00:00Z"),});start: the beginning of the timeline.stop: the end of the timeline.current: where playback begins.
Control playback
play starts the timeline from its current position; pause stops it without
resetting:
reearth.timeline?.play?.();reearth.timeline?.pause?.();Set the speed
setSpeed controls how fast the timeline advances relative to real time. The
value is timeline seconds per real second: 1 is real time, 3600 * 2 is two
hours per second:
reearth.timeline?.setSpeed?.(3600 * 2);React to time changes
The tick event fires as the current time advances during playback. The
handler receives the current time as a Date. Keep the handler lightweight—
avoid heavy work or logging on every tick:
reearth.timeline?.on?.("tick", (currentTime) => { reearth.ui.postMessage({ action: "tick", time: currentTime.toISOString() });});What’s next
Section titled “What’s next”- reearth.timeline API reference: the full set of timeline methods, properties, and events, including
stepTypeandrangeType - Communicate between a Plugin and Re:Earth: how the UI buttons send messages to the extension logic