Accept user-configurable properties
Last updated
By the end of this guide, you will be able to add settings to your Plugin that
users can configure from the Inspector panel in Re:Earth Visualizer—and
read those values in your extension code. This guide assumes you are familiar
with the basic Plugin structure (reearth.yml and an extension file).
Configurable properties involve two pieces that work together:
- In
reearth.yml, you define a schema that describes the settings you want to expose. Re:Earth Visualizer reads this schema and automatically renders the matching input fields in the Inspector panel. - In your extension code, you read the values the user entered through
reearth.extension.widget.property.
You define the settings once in the manifest; the Inspector UI is generated for you.
Sample code
Section titled “Sample code”This example adds a single setting: a primary color that users select in the Inspector. The widget reads and uses the selected color.
reearth.yml
id: color-demo-pluginname: Color Demo Pluginversion: 1.0.0extensions: - id: color-demo type: widget name: Color Demo schema: groups: - id: appearance title: Appearance fields: - id: primary_color title: Primary color type: string ui: colorcolor-demo.js
const primaryColor =  reearth.extension.widget?.property?.appearance?.primary_color;
reearth.ui.show(`  <div style="    padding: 16px;    border-radius: 8px;    color: white;    font-family: sans-serif;    background: ${primaryColor ?? "#cccccc"};  ">    ${primaryColor ? "My widget" : "No color set"}  </div>`);
Result
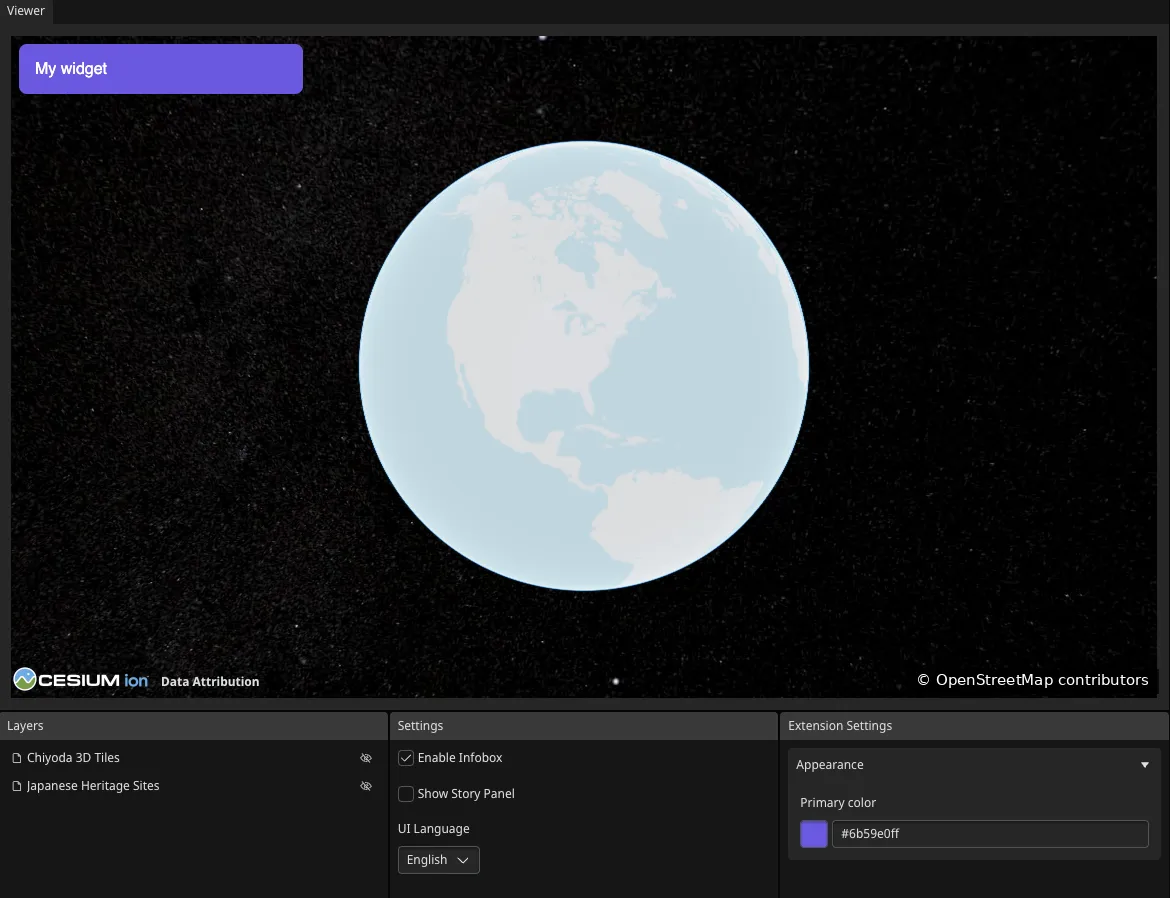
Section titled “Result”When you add this widget to a scene and open the Inspector, the Appearance group appears with a Primary color picker. Before a color is chosen, the panel shows “No color set.” Choose a color to theme the panel’s background.
How it works
Section titled “How it works”The schema block in reearth.yml defines what the user can configure. Its
structure maps directly onto how you read the values later. The schema is
organized into groups and fields:
groups: A list of setting groups. Each group becomes a labeled section in the Inspector.id: The group’s identifier. This becomes a key in thepropertyobject (here,appearance). Follow the same ID rules as elsewhere: letters, numbers, hyphens, and underscores only.title: The heading shown for the group in the Inspector.fields: The individual settings within the group.id: The field’s identifier, and the key you use to read its value (here,primary_color).title: The label shown next to the input in the Inspector.type: The data type of the value. In this example,string.ui: Optional. Specifies which input control to display. Here,colorrenders a color picker instead of a plain text box.
Re:Earth Visualizer exposes the configured values on the widget’s property
object:
reearth.extension.widget?.property?.appearance?.primary_colorThe path mirrors the schema exactly: property → group id (appearance) →
field id (primary_color).
Two things to keep in mind:
- Always handle the unset case. Until the user configures the setting, its
value is
undefined, so your code must handle that case. This sample uses?? "#cccccc"to fall back to a default. The optional chaining (?.) prevents errors when the property has not been set yet. - Group and field IDs are the keys. If you rename a group or field
idinreearth.yml, update the matching key in your code as well. After changingreearth.yml, reload the Plugin in Re:Earth Visualizer for the change to take effect.
What’s next
Section titled “What’s next”- reearth.extension API reference: the full
propertyobject and other extension capabilities - Plugin structure: a refresher on
reearth.ymland extension files