Set up a local development environment
Last updated
The Plugin Playground is ideal for quick experiments, but use a local development environment to build a full Plugin. This setup lets you write your Plugin in your own editor and see your changes in Re:Earth Visualizer almost instantly—without manually building and reinstalling the .zip each time.
This workflow has two halves: a Plugin project created from a template, and a local Re:Earth Visualizer that loads your Plugin directly from a preview server using the DEV_PLUGIN feature.
Prerequisites
Section titled “Prerequisites”This guide assumes you already have Re:Earth Visualizer running locally and accessible at http://localhost:3000. Setting up the Visualizer itself (including its server and database) is a separate process—for instructions, see the reearth-visualizer repository.
Also install Node.js and Yarn.
Create a Plugin from the template
Section titled “Create a Plugin from the template”The recommended starting point is the Re:Earth Visualizer Plugin ShadCN Template, built with React, ShadCN, and Tailwind CSS.
After creating your own copy of the template and opening it in your terminal:
-
Move into your Plugin directory:
Terminal window cd your-new-plugin -
Install the dependencies:
Terminal window yarn install -
Run an initial build to generate the required files:
Terminal window yarn build -
Start the development and preview server:
Terminal window yarn dev-build
This last command watches your code, rebuilds the Plugin automatically when you save, and serves it from a preview server at http://localhost:5005.
Enable DEV_PLUGIN in Re:Earth Visualizer
Section titled “Enable DEV_PLUGIN in Re:Earth Visualizer”Next, tell your local Visualizer to load the Plugin from that preview server.
-
In your local Re:Earth Visualizer project, move into the
webdirectory and create a.envfile if one does not already exist:Terminal window cd webtouch .env -
Add the preview server URL to the
.envfile:Terminal window REEARTH_WEB_DEV_PLUGIN_URLS='["http://localhost:5005"]'
The web server restarts automatically after you save changes to .env.
Add a widget Plugin to a project
Section titled “Add a widget Plugin to a project”With both servers running, set up a project in the Visualizer to host your Plugin:
- Open your local Re:Earth Visualizer at
http://localhost:3000. - Create a new project from the dashboard.
- Double-click the project to open it.
- In the editor header, click Install Dev Plugins to fetch and install your Plugin from the preview server.
- Open the Widgets tab and add your Plugin’s Widget to the scene.
The development loop
Section titled “The development loop”Once everything is connected, your day-to-day workflow becomes very short:
- Make a change to your Plugin code and save it. The Plugin rebuilds automatically.
- In the Visualizer editor header, click Reload Dev Plugin Extensions to load the updated Plugin.
Because only the Plugin reloads—not the entire page—your changes appear almost immediately.
The two dev Plugin buttons
Section titled “The two dev Plugin buttons”The DEV_PLUGIN workflow adds two buttons to the Visualizer editor header. Both are puzzle-piece icons:
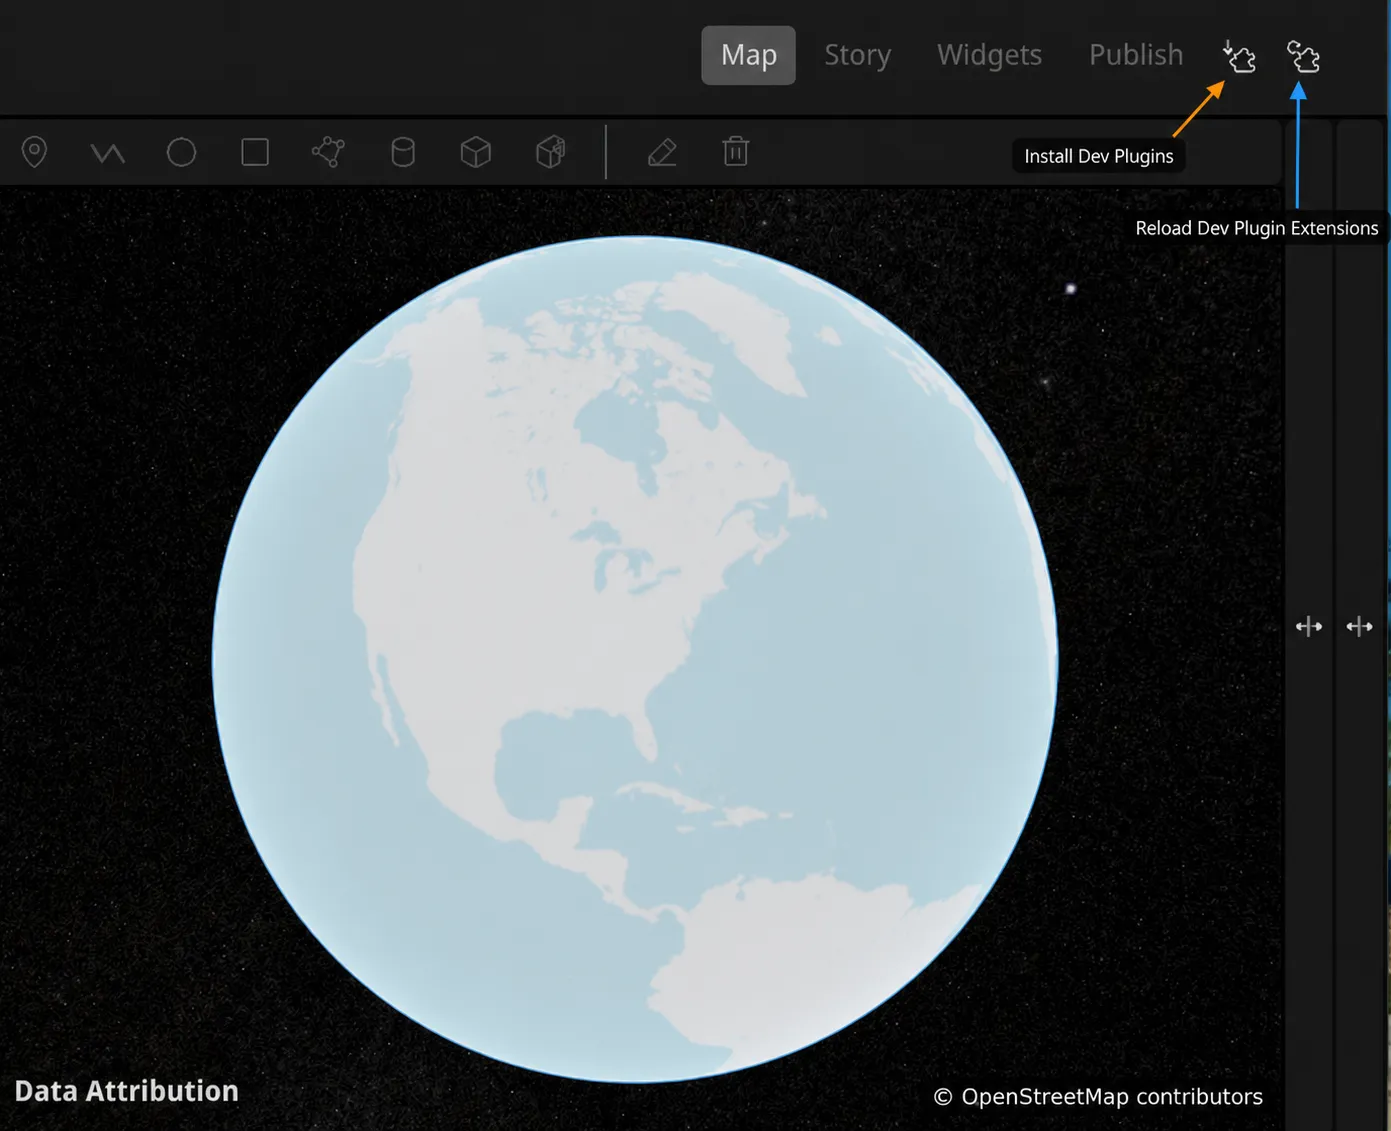
- Install Dev Plugins: Fetches your Plugin from the preview server, packages it into a
.zip, and installs it. - Reload Dev Plugin Extensions: Reloads your Plugin’s extension code from the preview server without reloading the page.
Use this guide to decide which one to click:
| What you changed | Button to use |
|---|---|
| First-time setup in a project | Install Dev Plugins |
| Extension code (TypeScript / JavaScript) | Reload Dev Plugin Extensions |
reearth.yml (the Plugin manifest) | Install Dev Plugins |