Create a New Project
Creating a project is easy and you'll be ready to go in no time.
Two ways to create a new project
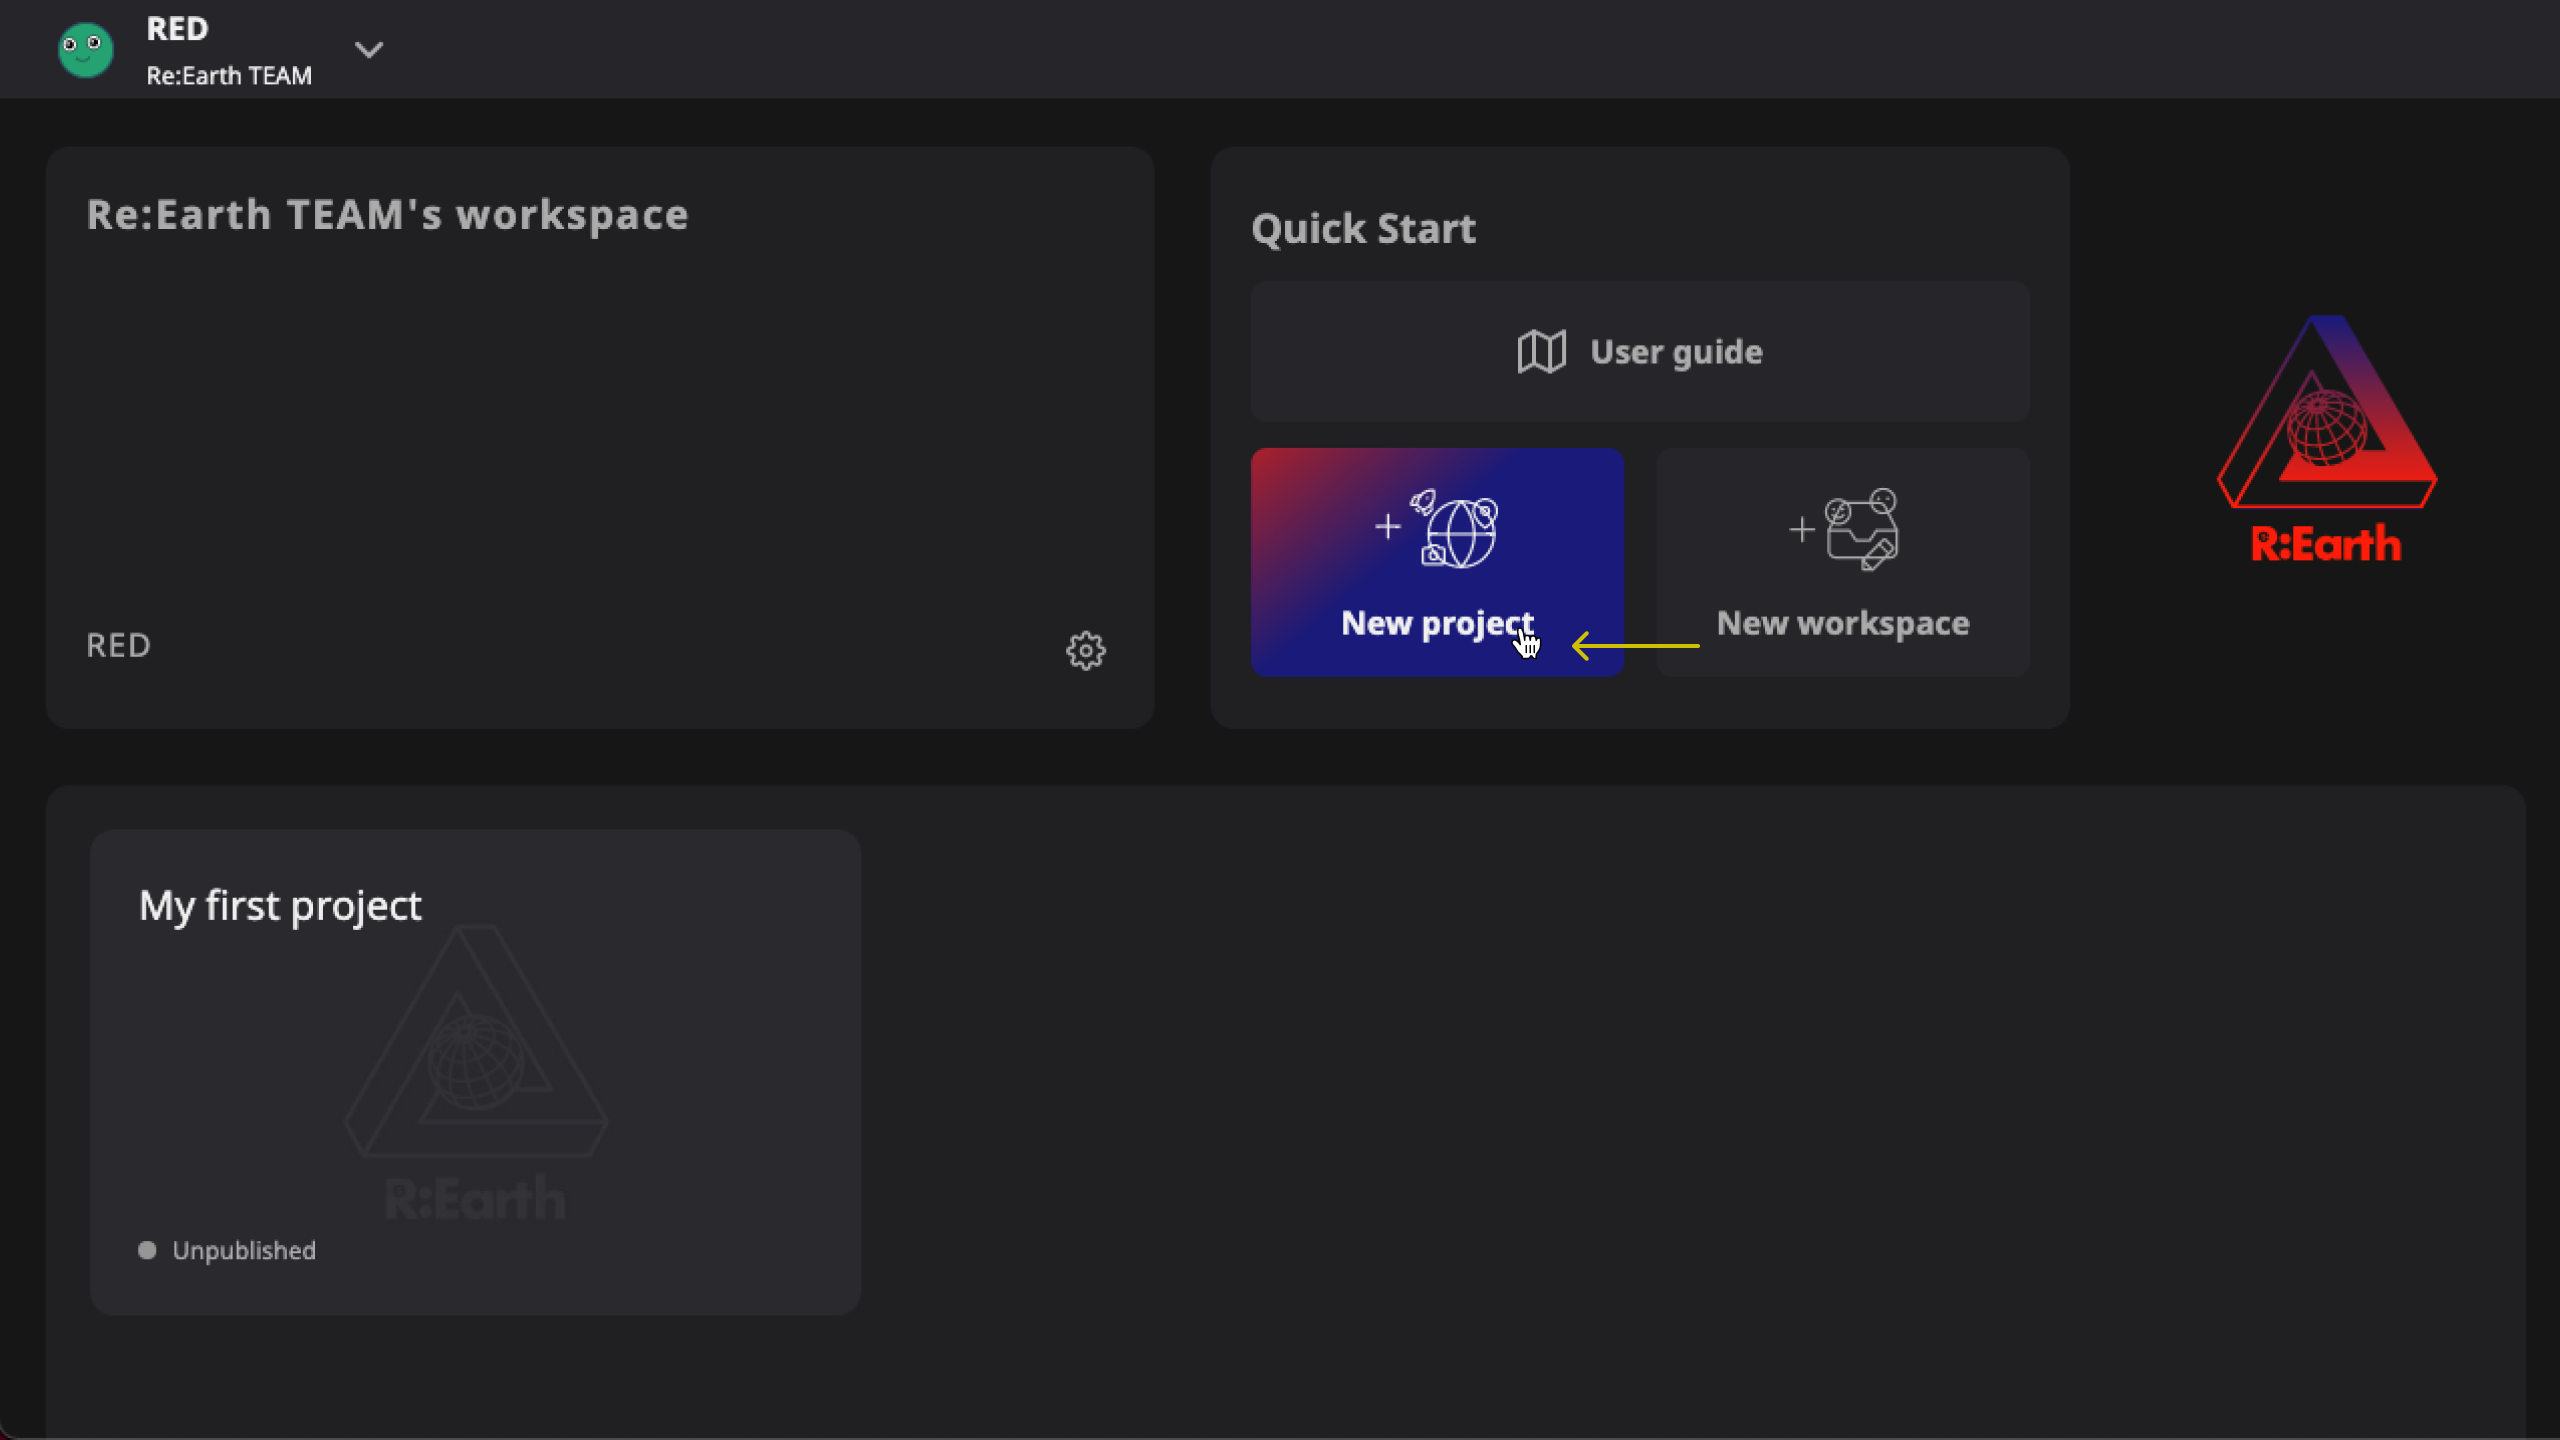
From Dashboard
Dashboard -> Quick Start -> New project button -> Fill in modal
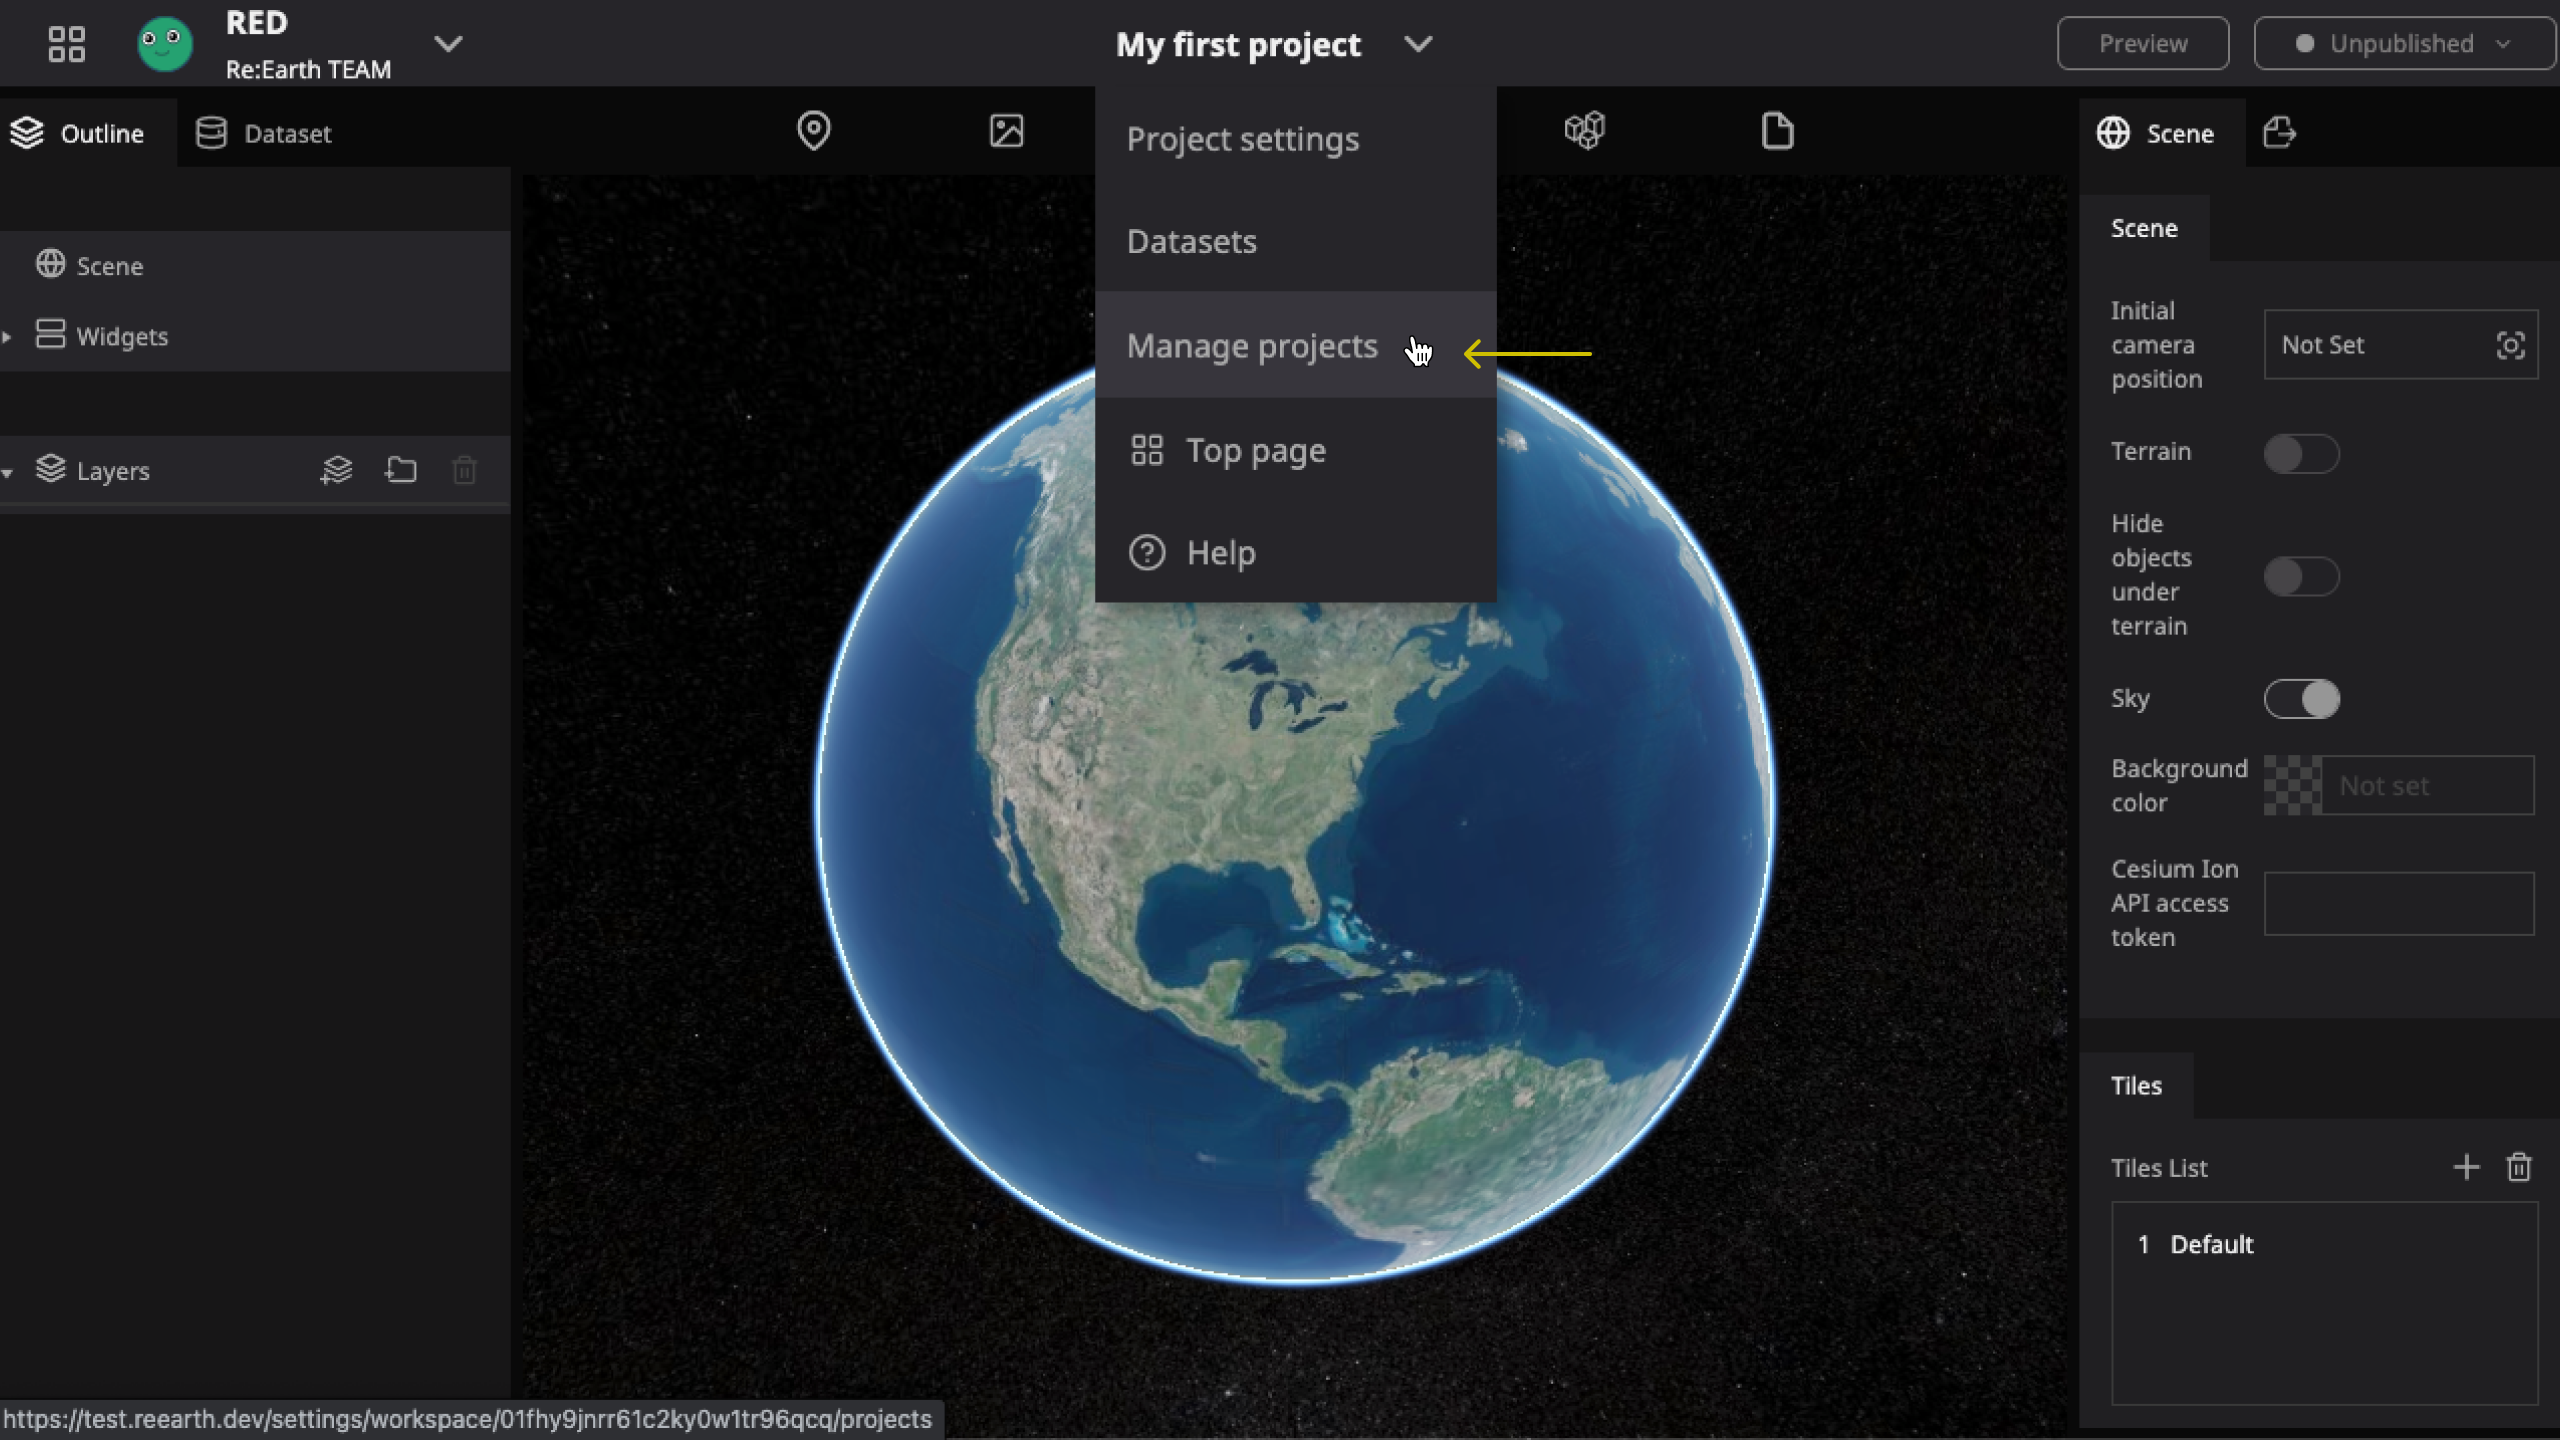
From Editor
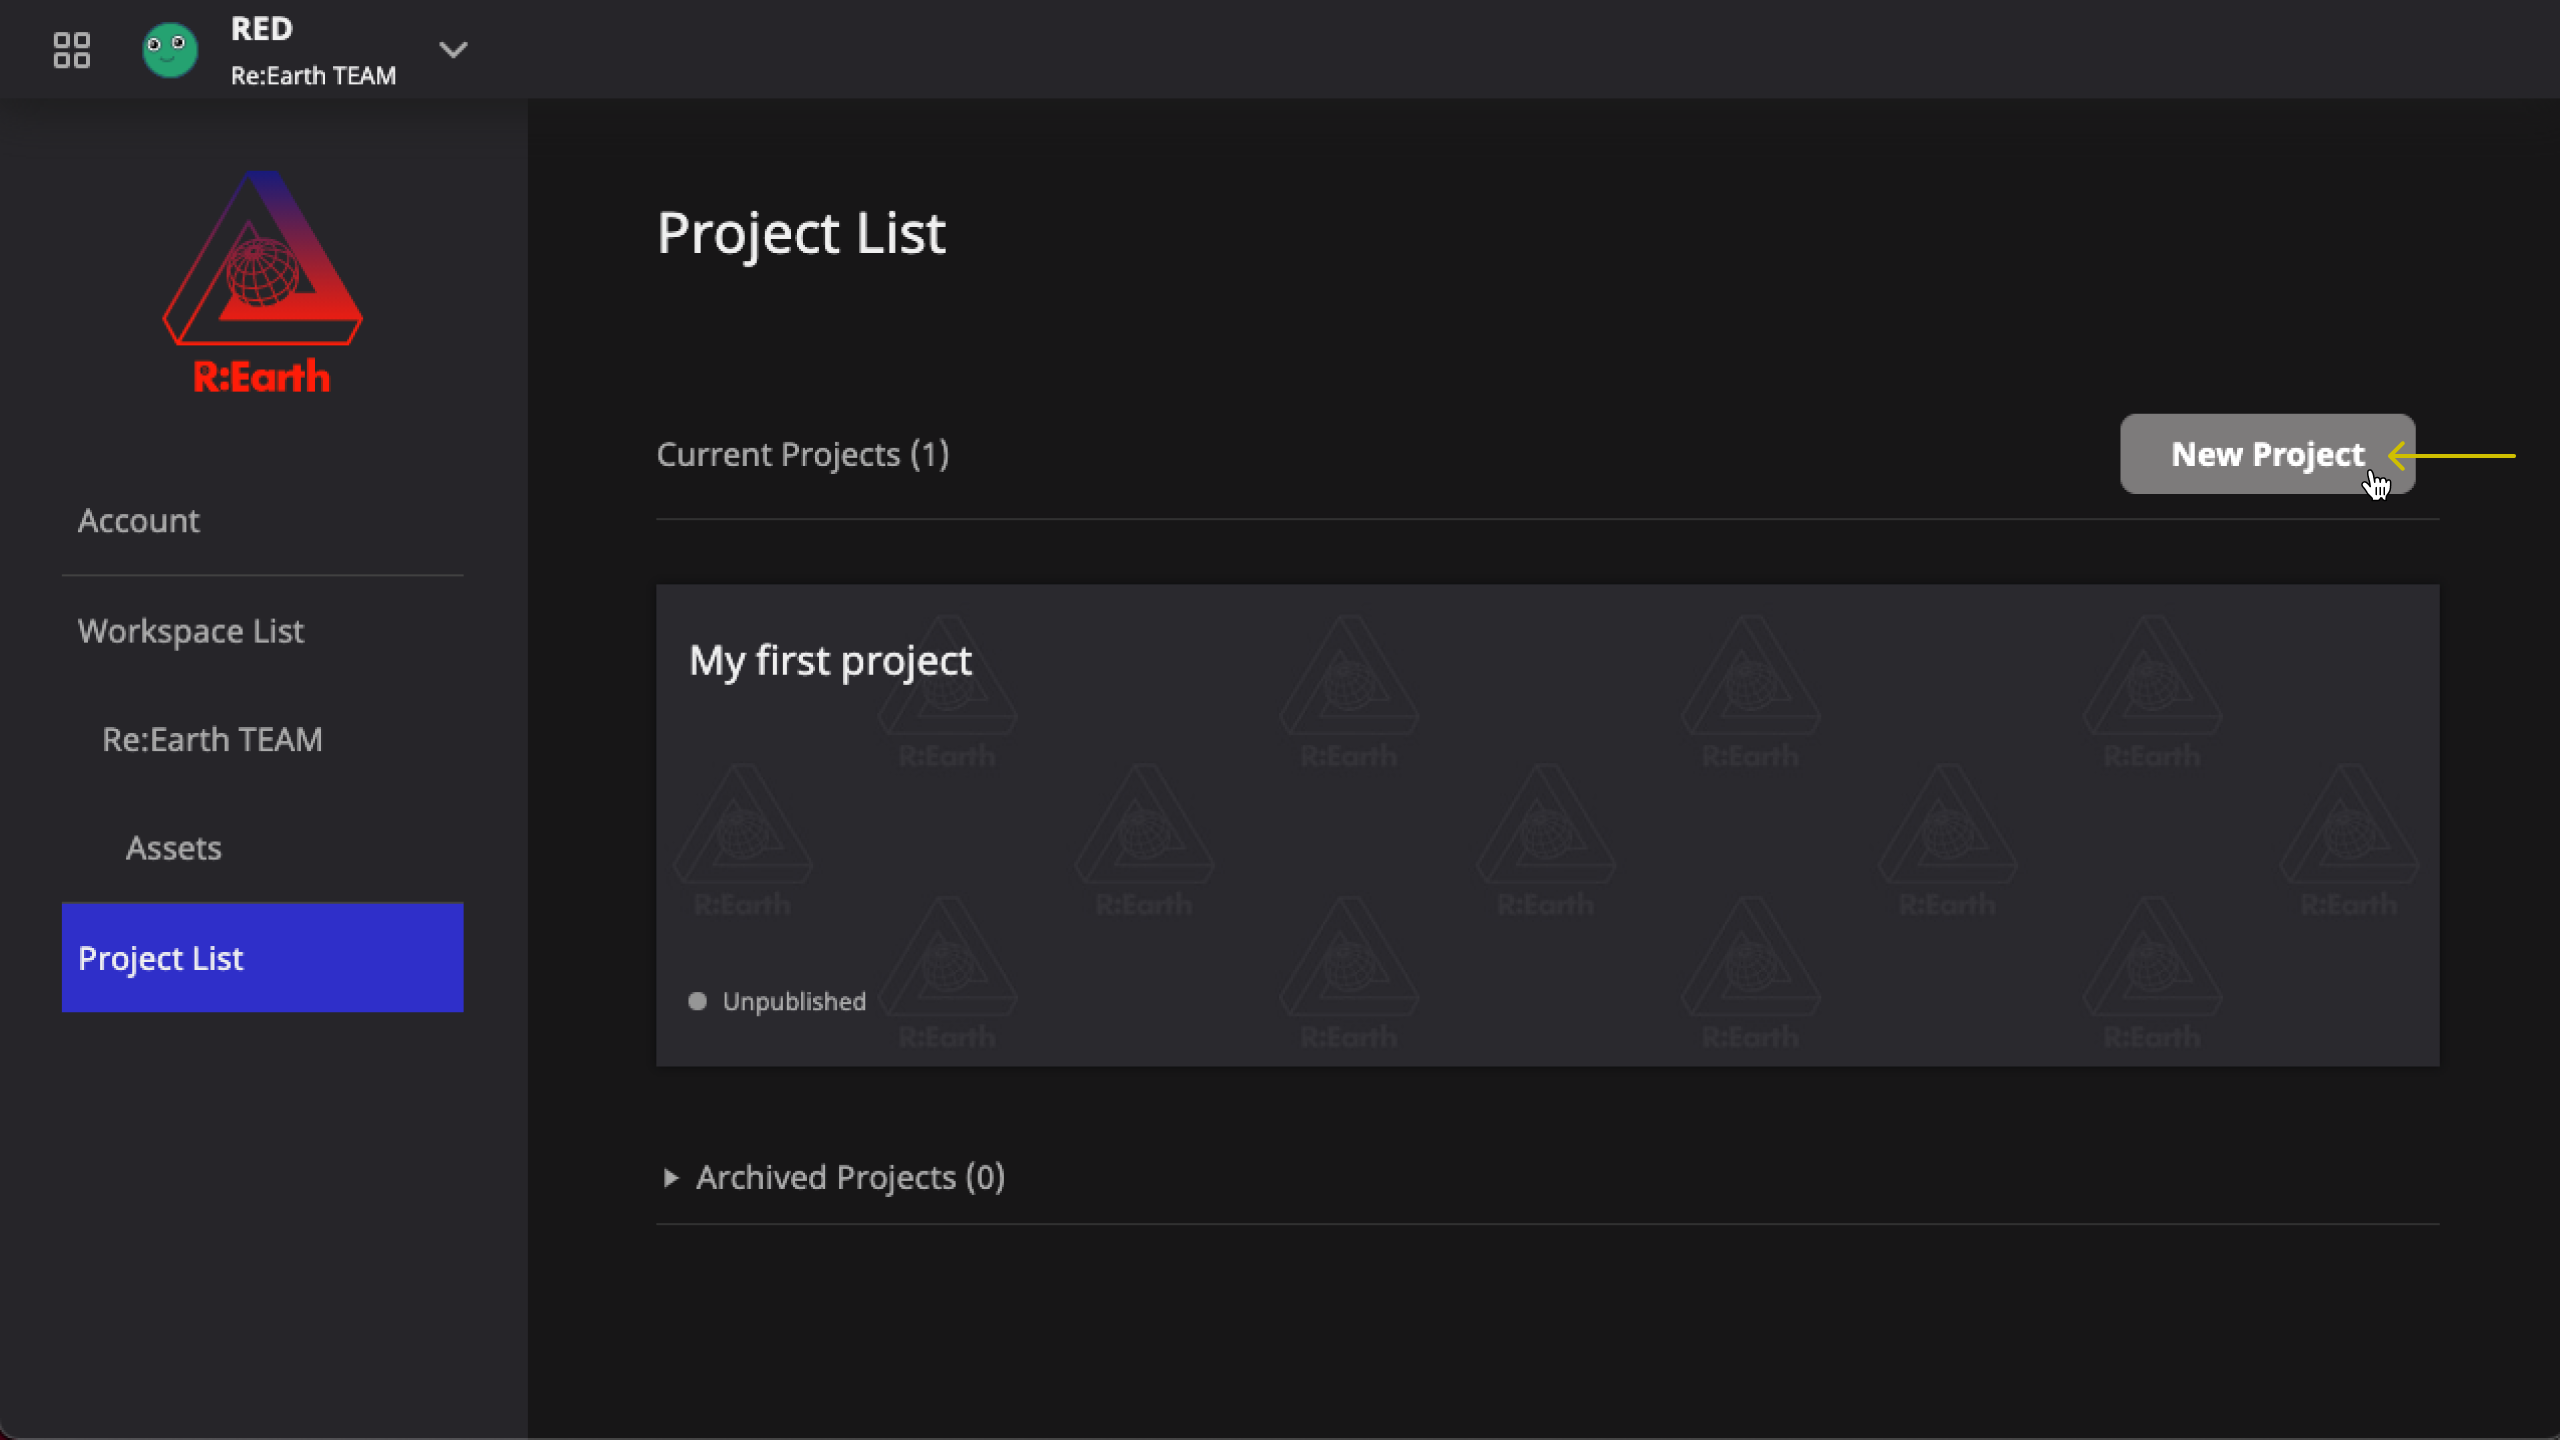
Editor -> Project menu (middle of Header) -> Manage projects -> Project list page -> New project button -> Fill in modal
Project creation modal
The last step of creating a new project is to fill in the initial information of the project. You will see the following modal form:
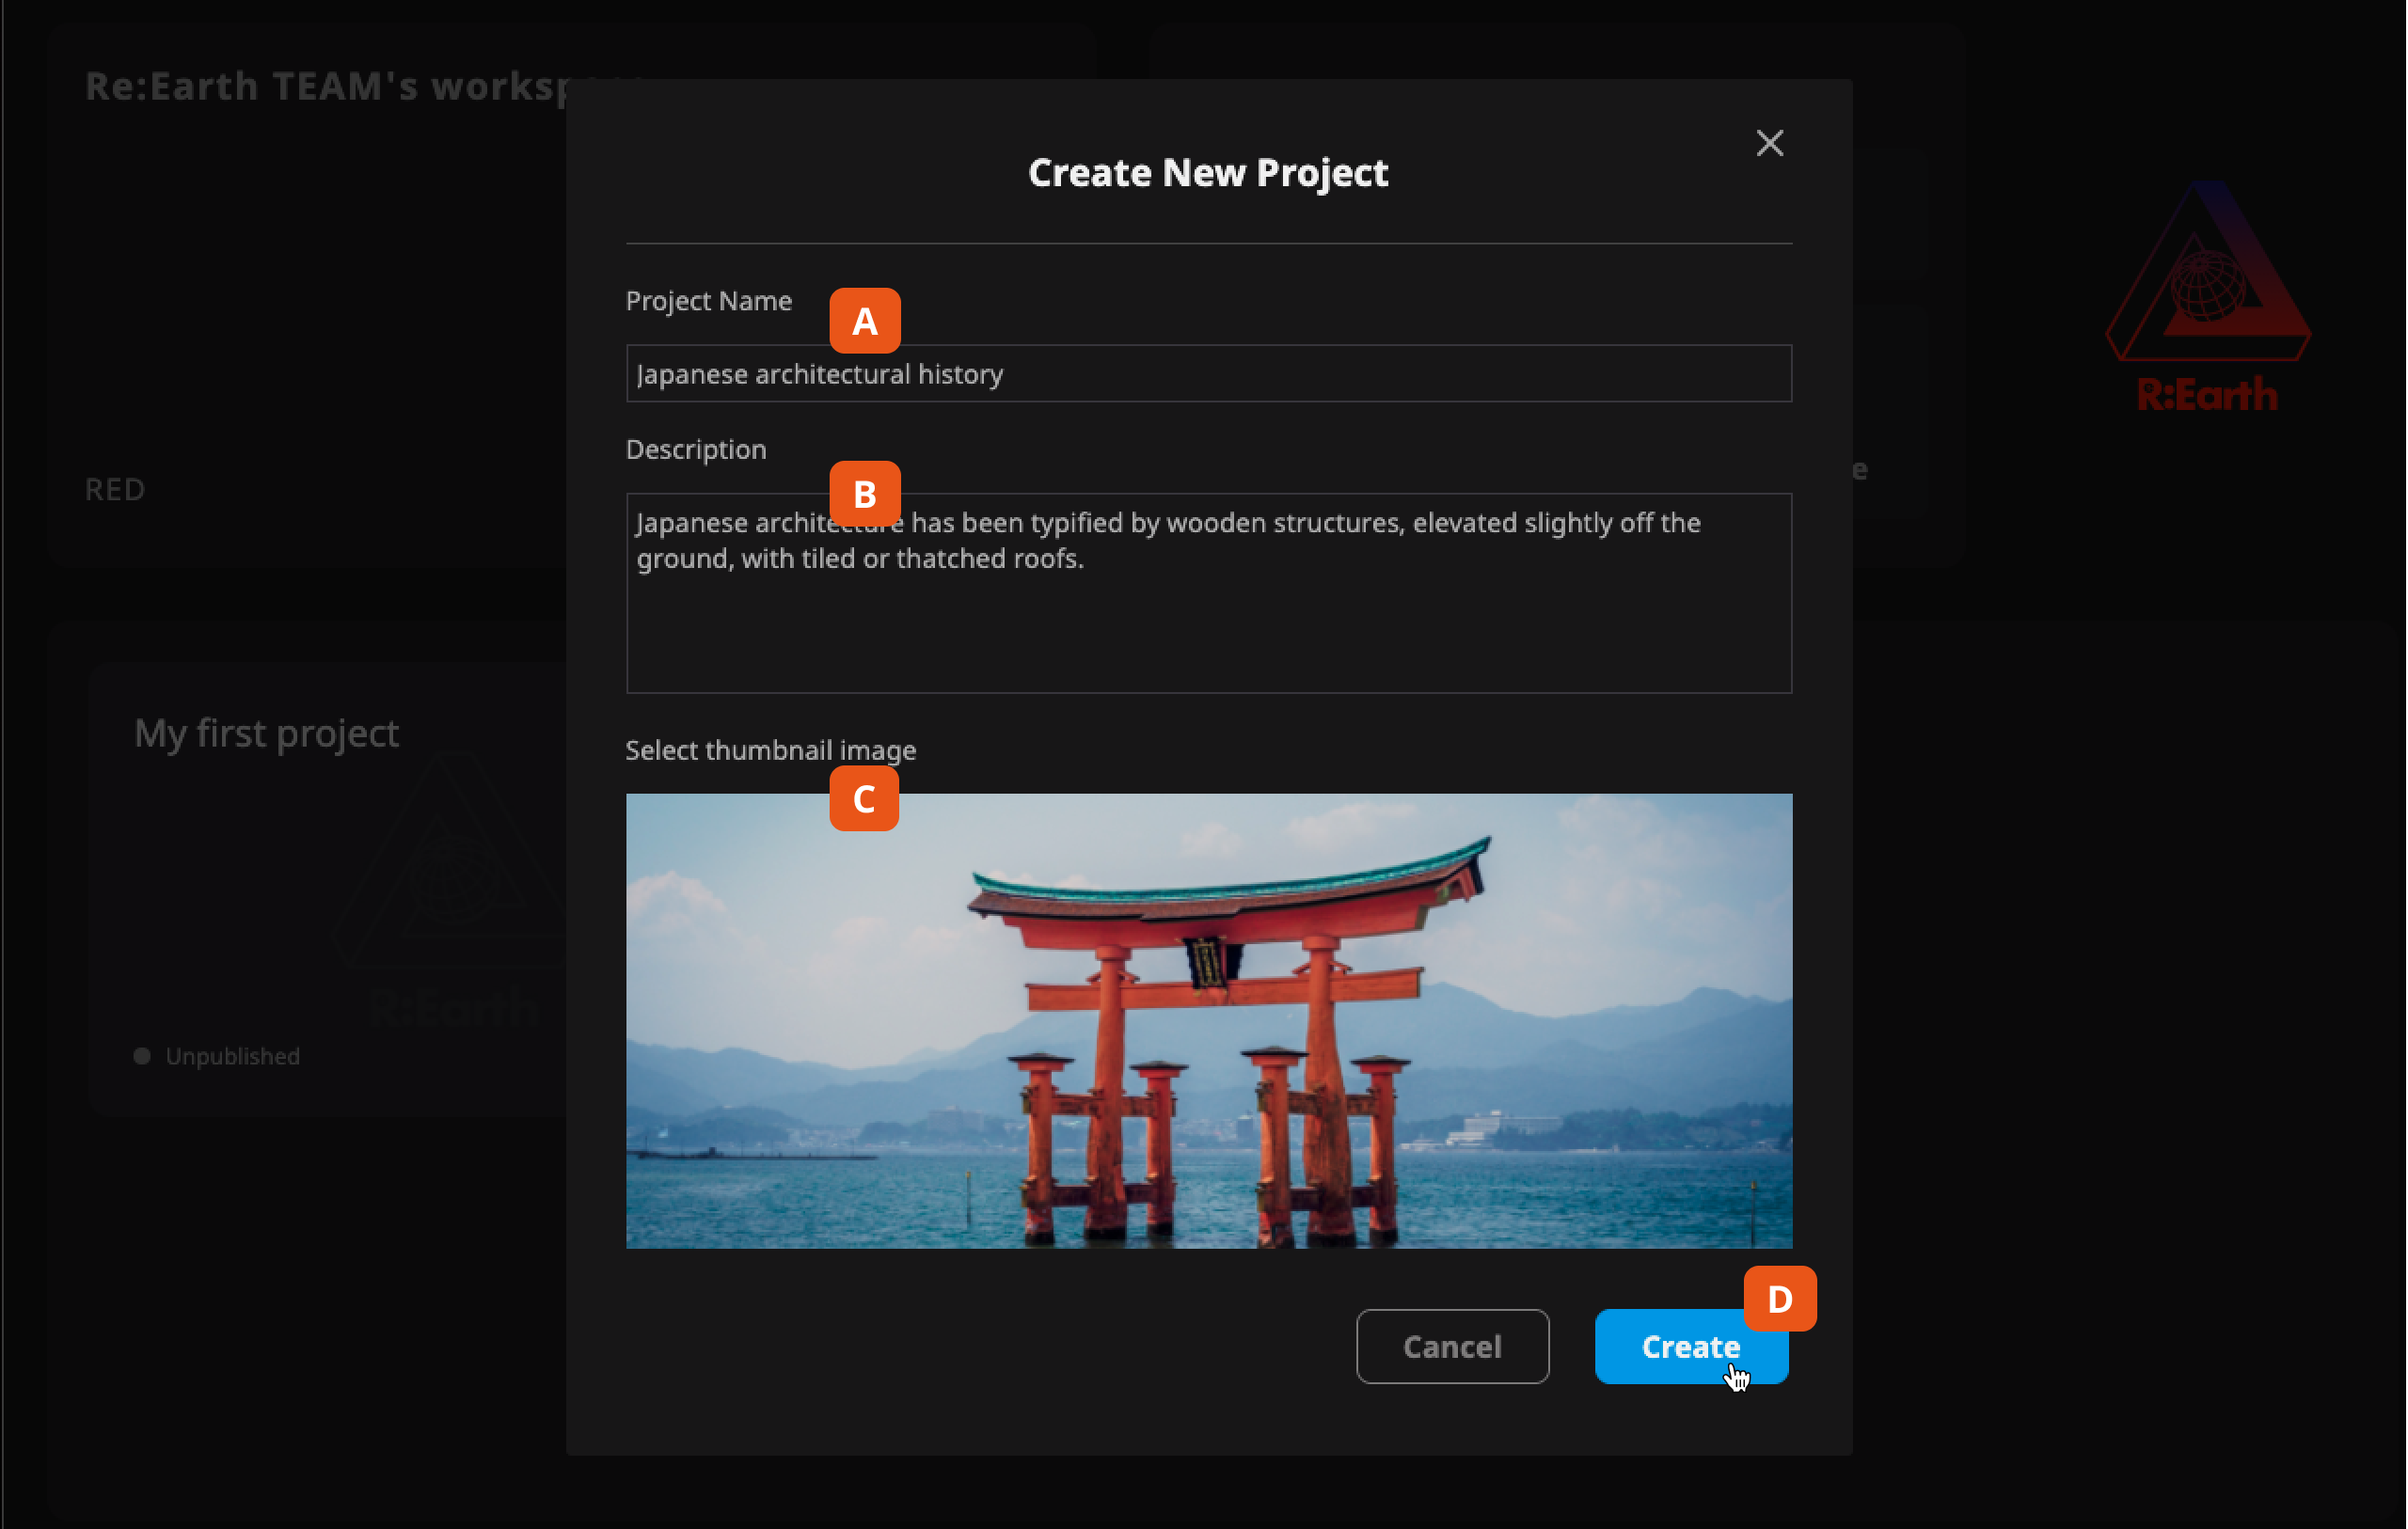
- Project Name is where you can write the name of your project that'll be used in Re:Earth. (Only project name is mandatory)
- Description is where you can write details of your project. When the number of projects is large this is helpful to discern similar projects.
- Thumbnail image will be used inside Re:Earth as the main visual image of your project.
- After completing the steps above 👆, click the Create button.
caution
The above project settings will only be displayed inside Re:Earth. When publishing the project, we can specifically set the project information for OGP and publishing. For more information about the public settings, please check here.