Adding layers
In Re:Earth, we can add layers to the map. And also objects that can be rendered on the digital earth (including marker, 3D modal, PhotoOverlay...) are all managed as layers.
Here we will add a marker as layer to the map as an example.
Adding a marker layer
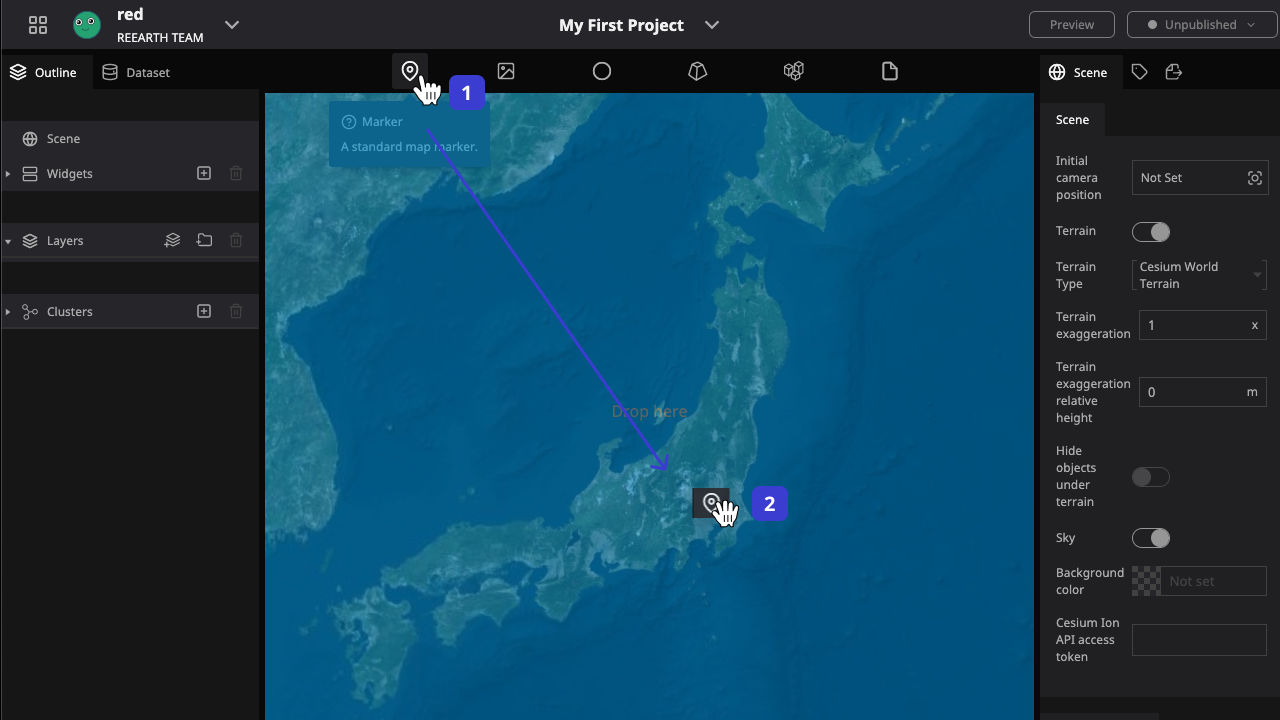
- Find the Marker tool from the Tool bar.
- Drag the Marker icon to the place on the map where you want to place it
- In the Outline layers list, a new layer called marker is created.
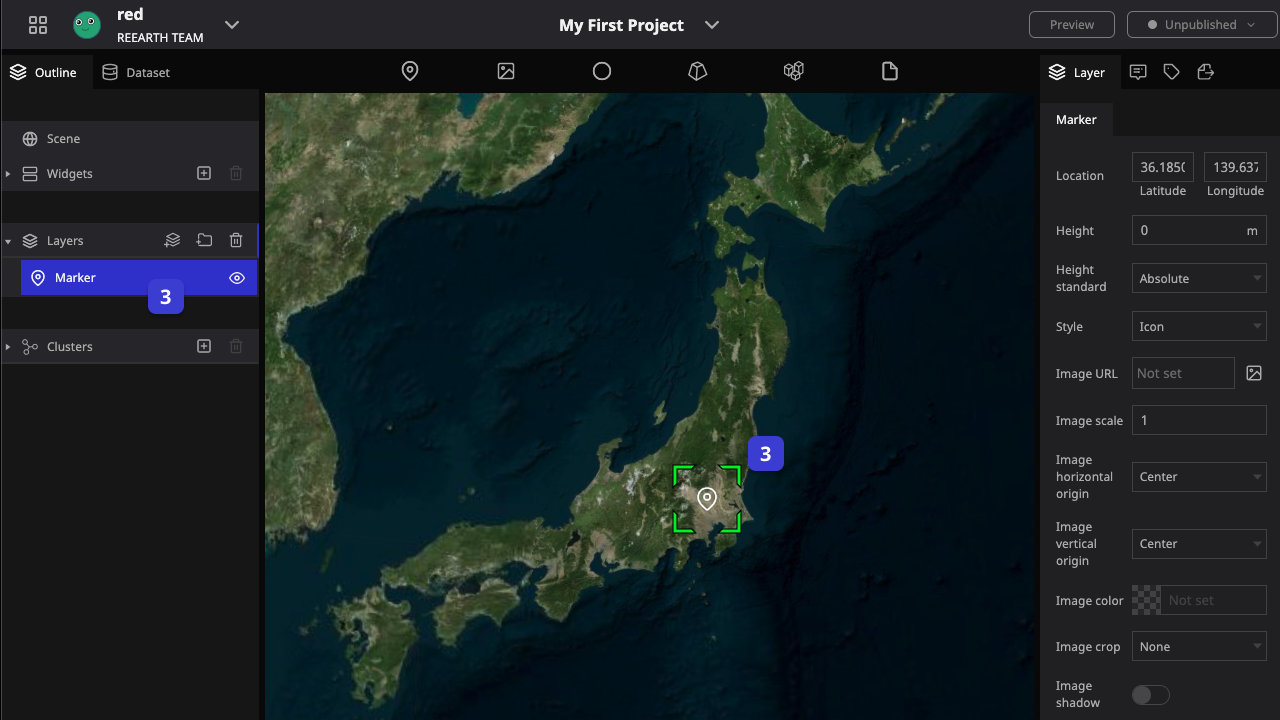
Changing layer properties
By selecting a layer, we can modify various properties of that layer to change its state or shape, such as the following examples.
Changing position
After pressing and holding the layer for more than 1 seconds, we can move its position on the map.
changing apperance
We can modify the style, size, color, etc. of the marker layer.
Adding label
We can also add a label to the marker layer, and adjust the font style, etc.
For the marker layer we have many customizable parts, please click here for more details. Different types of layers have their own different parameters and functions, you can find more information about them here.
Please try to change the parameters of other layers, you may find something different.