Tutorial
In this section, we will explain the series of steps in developing a plugin by developing a simple plugin together.
1. Create a project directory
Create a directory in the location of your choice. This is where you will put the plugin code. The name of the directory can be anything you like. In this page, we will name it test-plugin.
2. Describe a manifest for the plugin
Manifest is the metadata of the plugin you are going to create, i.e., ID and name of the plugin, what functions it extends, and what configuration items will be provided to users.
Create a file named reearth.yml and edit it as following:
id: test-plugin
name: Test plugin
version: 1.0.0
extensions:
  - id: test-widget
    type: widget
    name: Test
- The
idhere can not be upper-case. - Be careful not to make mistakes such as line breaks and spaces.
3. Implement the first extension
Actually, a plugin is a collection of units called extensions. A plugin is allowed to have only one extension, or multiple extensions.
Let's go ahead and implement the first extension. As described in the manifest in the previous step, ID of the extension we will implement is test-widget. Create a file named test-widget.js with the extension .js appended to this ID.
Note that if you make a mistake with this file name, the plugin will not work. Other than the extension, the rest of the file must match the ID completely.
Then edit the JS file:
console.log("Hello world");

reearth.ui.show(`<h1 style="color:red;background:black">Hello world</h1>`);
That's it, the simplest of plug-ins is complete. File structure is as following:
test-plugin
│   reearth.yml
│   test-widget.js
4. Pack your plugin
Now let's install your plugin into Re:Earth. Before we do that, let's pack the plugins so that we can install them. In this article, I will explain how to compress them into a zip file and upload it.
Select the folder you created in the very first step and compress it into a zip file. The way to do this depends on your operating system; for MacOS, right-click on the folder in finder and select "Compress ~" to generate the zip file; for Windows, right-click on the folder in explorer and select "Send to" and then select "Compress Compressed (zipped) folder".
By the way, don't worry about the name of the zip file as it won't affect the subsequent steps.
5. Upload your plugin
Upload the plugin. Log in to your Re:Earth and open the project settings page. (If you haven't created a project yet, go ahead and do so.)
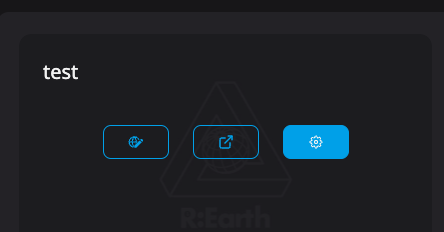
You can open the project settings page from this button in dashboard page:
Or, "Plugin" item in the top menu in the editor screen:
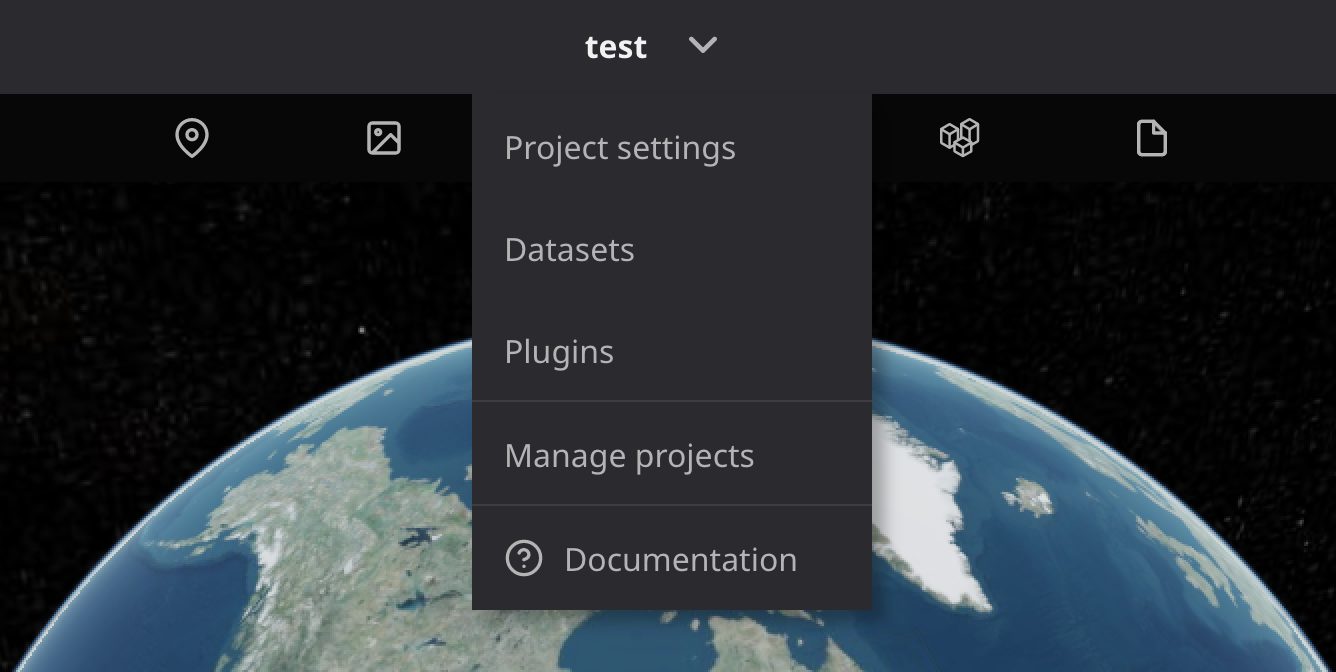
Then, select "Plugins" in the left menu:
Then you'll see this screen:
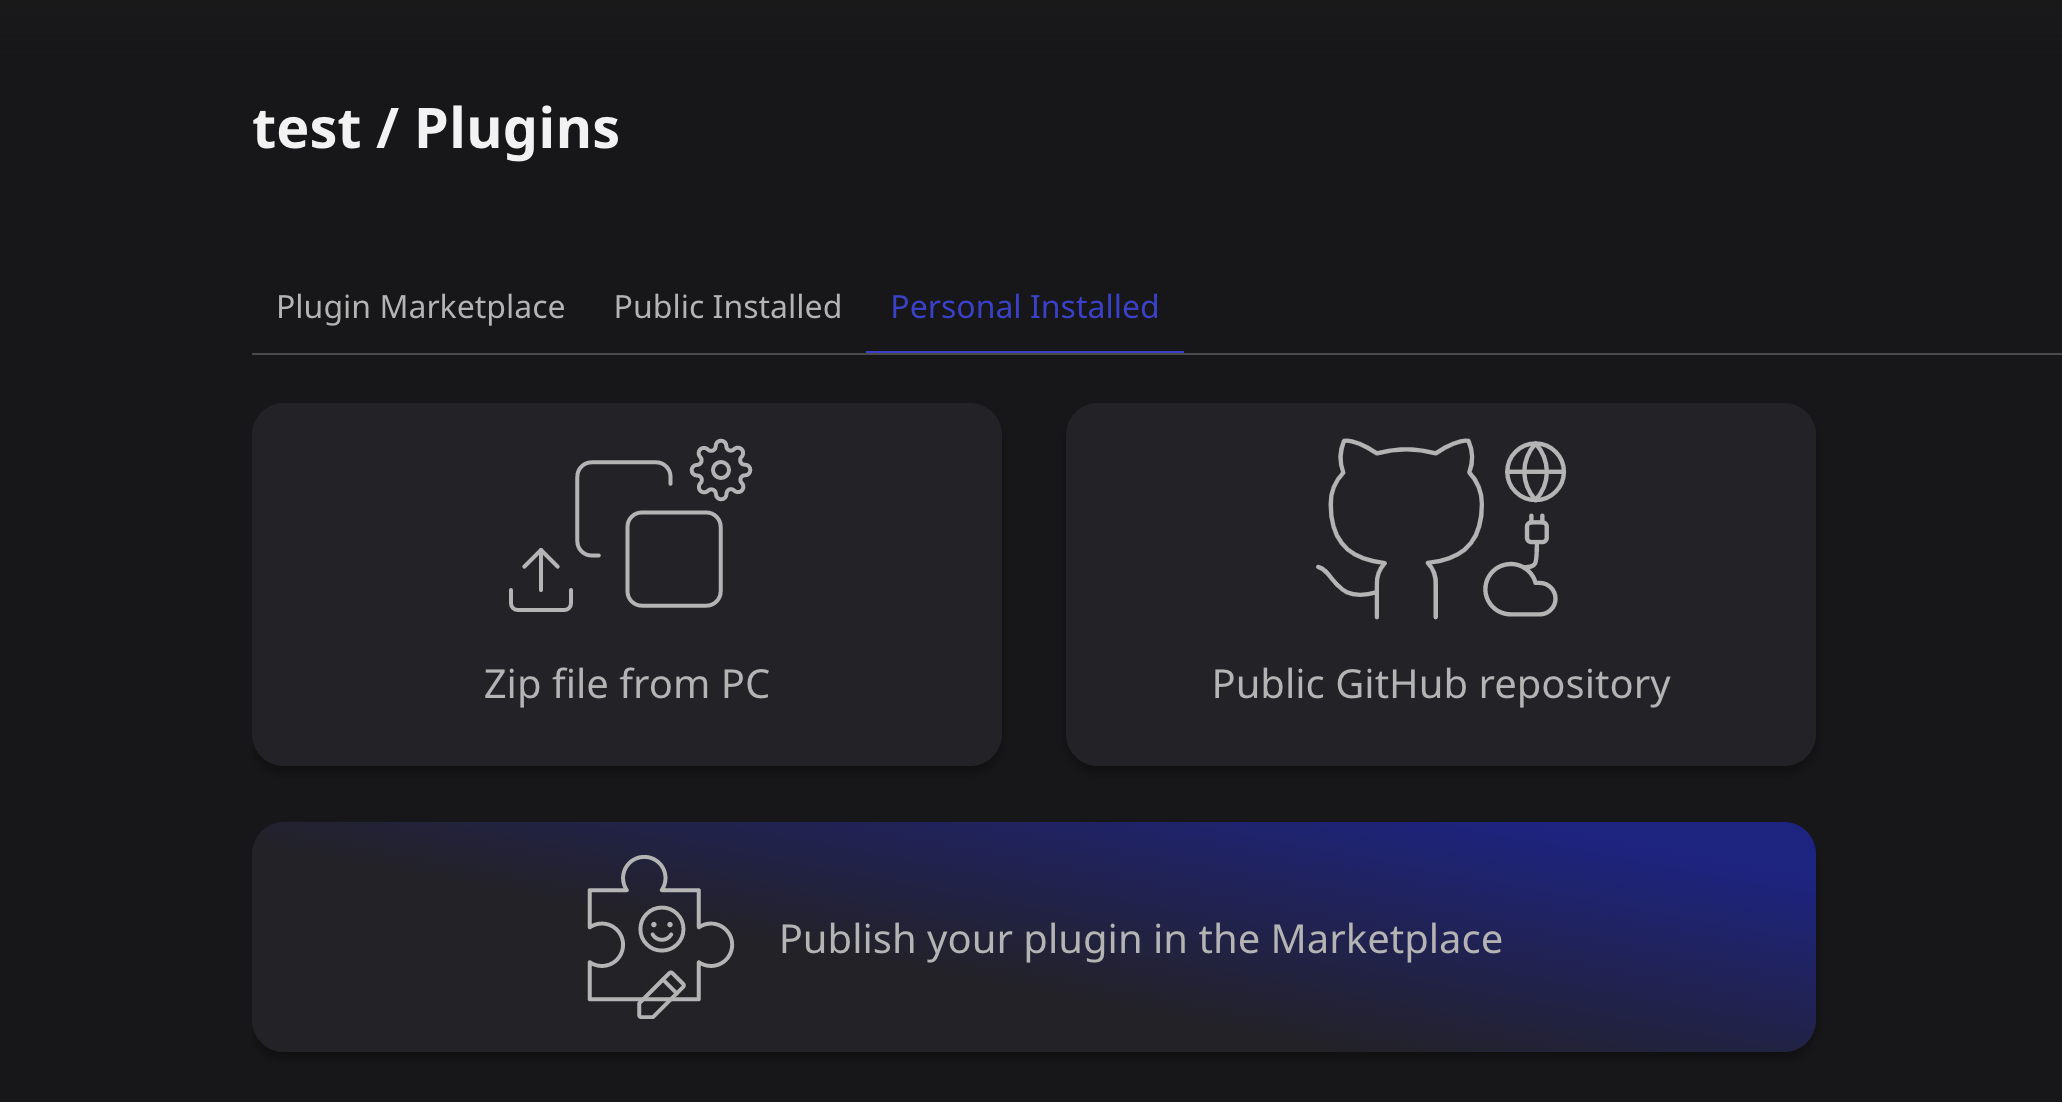
Next, move to "Personal installed" ,select "Zip file from PC" and select your zip file you generated in the previous step.
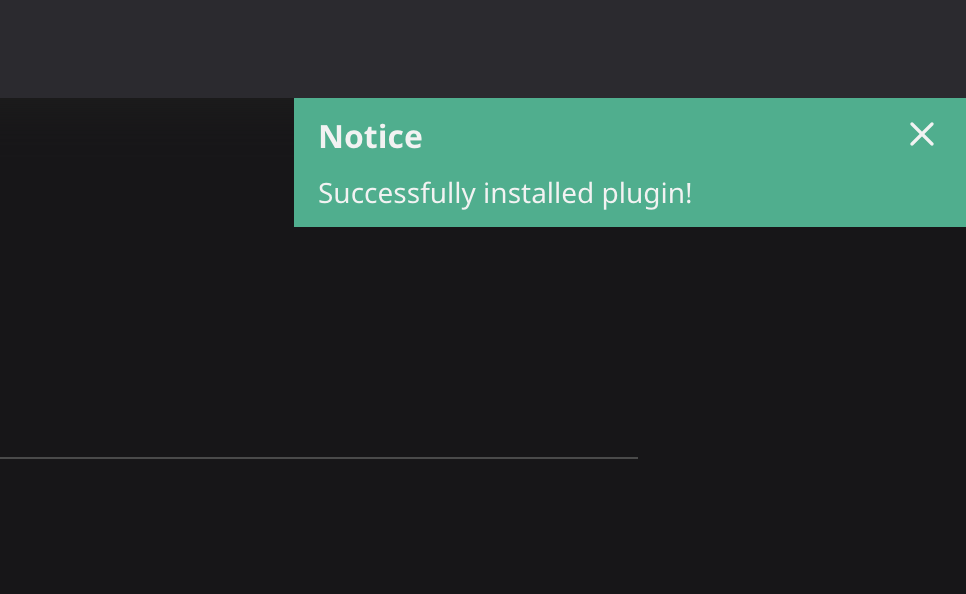
If you see a success message after a short wait, the plugin has been successfully installed.
If you get an error here, it could be due to one of the following reasons:
- There is an error in the format of
reearth.yml. Reviewreearth.ymlagain. - A plugin with the same ID has already been installed. Uninstall it and run it again.
- The zip file does not contain
reearth.yml, or there are multiple directories in the root. Compress a single folder containingreearth.yml, or a group of multiple files containingreearth.yml. - Depending on the application used to generate the zip file, it may output a malformed zip file. Try compressing the file by other means.
6. Using widgets extended by your plugin
Go back the editor screen and open widgets on the left panel. Then you'll see a new widget that you implemented.
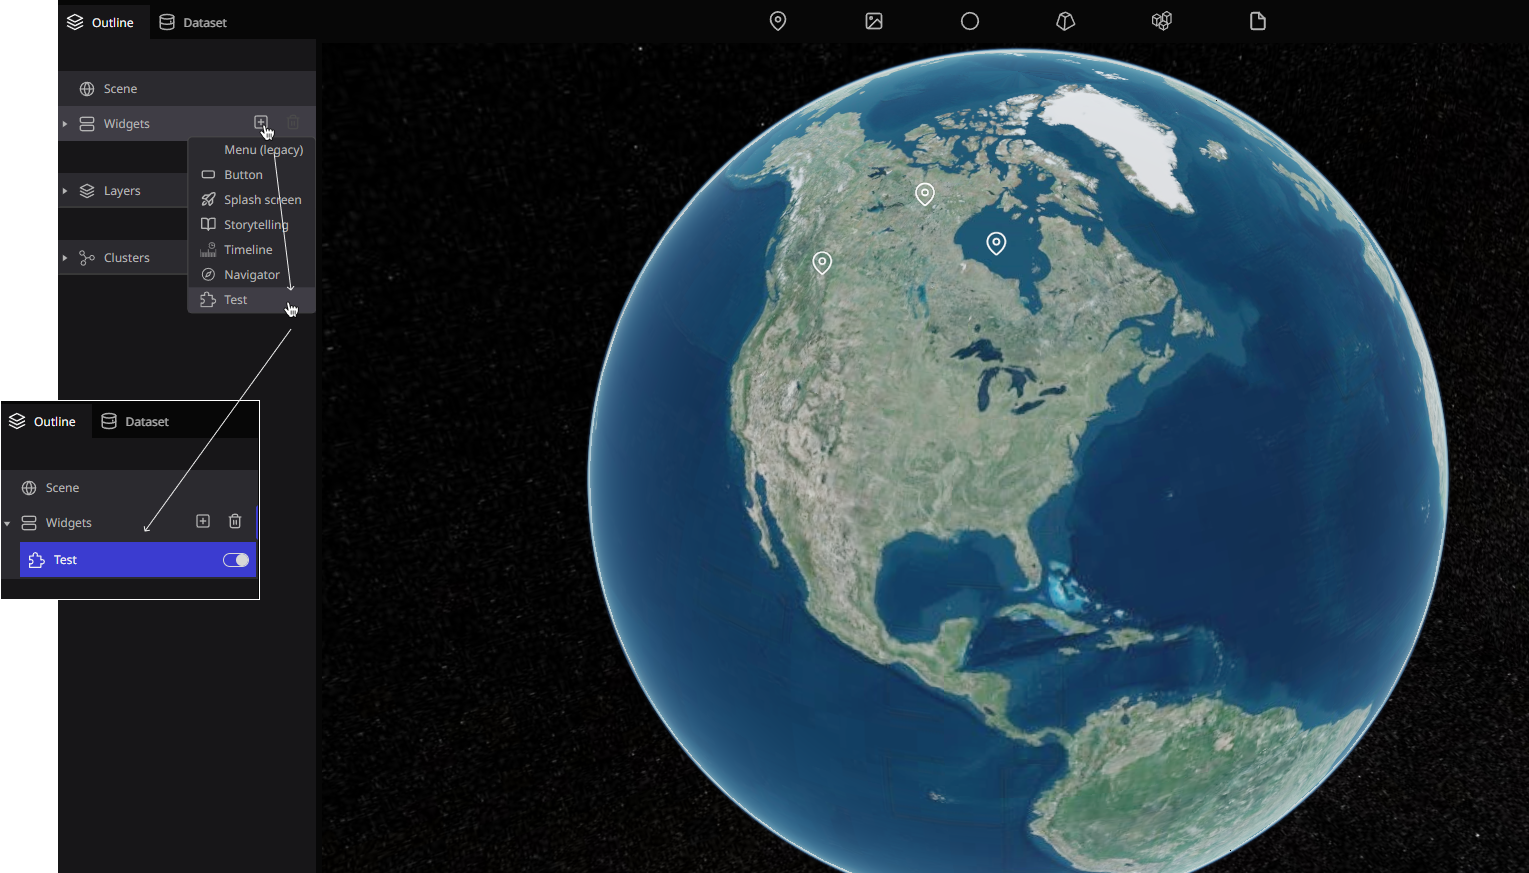
Then you can see your first widget!

If it does not show up, the JavaScript file may be misnamed, or the JavaScript may not be implemented correctly, causing an error. If an error occurs, you can check it in the console of your web browser's developer tools.
Tip 1: Uninstall your plugin
Although you have created this plugin, you should also check how to uninstall it.
In the plugin settings page (same as step 5), you can click a button in the plugin item.

You can uninstall the plugin by clicking the button to the right of the column where the name of the plugin appears. Note that any widgets or blocks that have been added by this plugin will be removed from the scene, and if you have already published a scene using this plugin, the widgets and blocks will no longer work in the published scene.
Tip 2: Install your plugin from GitHub
You can also install the plugin from the GitHub repository. Currently, only public repositories are supported. In the plugin settings page (same as step 5), you can click "Public GitHub repository" and then enter the GitHub repository URL.
This is acceptable:
https://github.com/USER/REPO(mainbranch will be used)https://github.com/USER/REPO.git(mainbranch will be used)https://github.com/USER/REPO/tree/BRANCH_NAME(specify a branch)https://github.com/USER/REPO/archive/XXX.zip(specify an archive by branch name)https://github.com/USER/REPO/archive/refs/head/XXX.zip(specify an archive by ref)https://github.com/USER/REPO/archive/refs/tags/XXX.zip(specify an archive by tag)
This is not acceptable:
ssh://git@github.com:USER/REPO.git(usehttps://~instead)
Next step
So far, you have learned how to develop plug-ins. Refer to the more advanced topics to develop your own plug-ins.
- Recipes: Describes how to implement plug-ins for various common use cases
- How plugins work: Gain a better understanding of how plugins work internally
- Manifest reference: Describes all the fields in plugin manifest
- API reference: Learn about all available features in plugins
- Future plans: Plugin API is still in its infancy. Check back in the future to see what additional features are being considered.